Interested in buying a base? See what's available, HERE.
My original post for how to make wood sewing machine bases has been popular so I decided to make this tutorial with pictures of the building process for a base with a side cubby and full dovetail joints*.
*If you don't want the side cubby you can easily alter the 20" front/back wood pieces to be 16"-long. If you don't want to make dovetail joints you can alter the side pieces to be 6-3/4" instead of 8-1/4" and use your own joining technique for the corners such as glue or screws.
SINGER SEWING MACHINE BASE BUILDING PLAN
Finished Outer Dimensions: 20" long by 8-1/8" deep by 2-11/16" tall
Materials and Tools Shopping List:
1" x 3" x 8' select pine board
1/4" or 5mm utility plywood (measuring at least 9" x 21")
12"-long 3/4" quarter round trim piece (for corners)
3/4" straight or rabbeting router bit
Dovetail router bits
Flush trim router bit
1/4" round-over router bit
1 1/4" brad nails (for nail gun) or finish nails (use hammer)
2 Metal Mirror Clips (optional)
3/4" finish nails
Drill bits
Wood glue
Sand paper
Wood filler
Wood Stain and/or Polyurethane
Tools:
Safety Glasses & Hearing Protection
Measuring Tape
Pencil
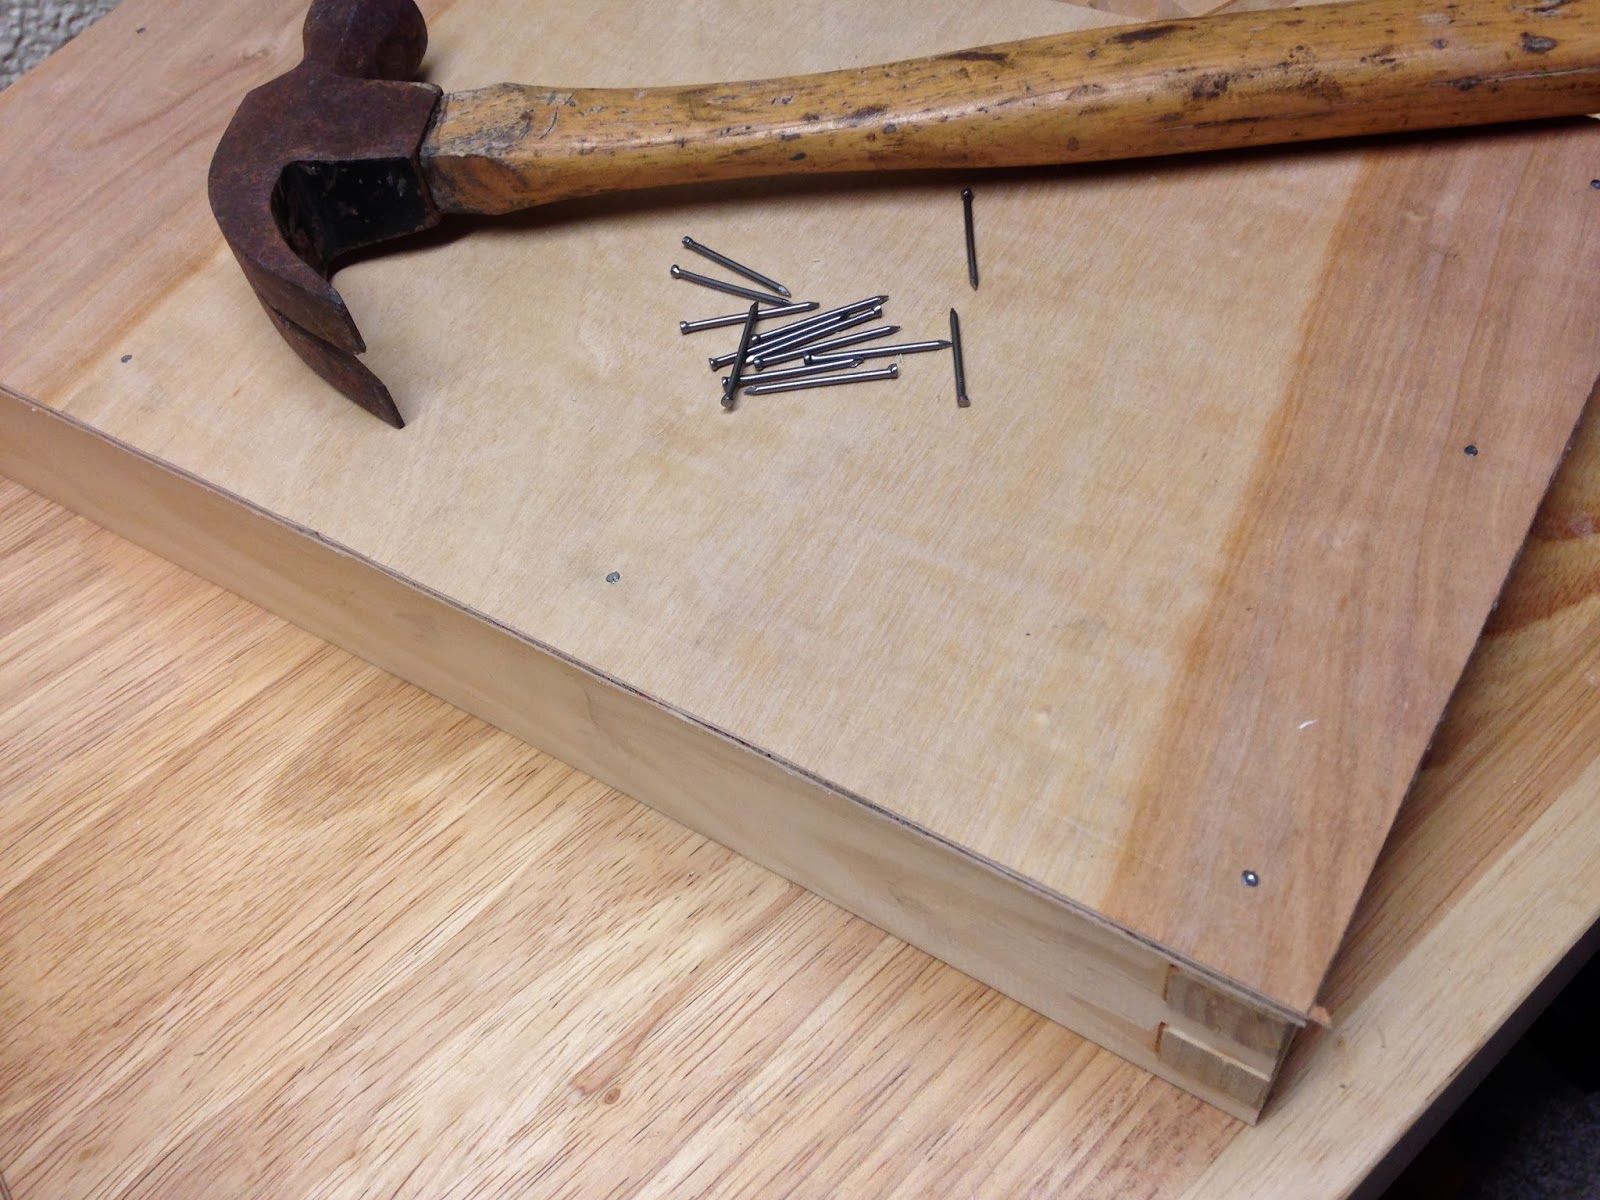
Hammer
Drill
Table & Miter Saw
Router
Dovetail Jig
Nail gun or Hammer
Sander
Cut List:
2 - 1x3 @ 20" (front & back)
2 - 1x3 @ 8-1/8" (sides)
1 - 1x3 @ 7-1/4" (cubby divider)
4 - quarter round trim @ 2-9/16" (corner pieces)
1 - 8-1/2" x 20-1/2" utility plywood (bottom)
Refer to cutting list to cut your front/back, sides and cubby divider out of pine board.
Make your full dovetail joints on your front/back and sides (picture shows sides). Refer to your jig manual on how to do this. It is a very precise joint that requires precise adjustments.
Dry fit your outside pieces. Make an 'x' or something with pencil on the INSIDE, right corner of your front & back pieces.
Measure 4" from edge you marked and make a 1/4"-deep rabbit.
Your pieces should look like picture above. Do another dry fit to make sure your cubby divider fits in the rabbits.
Make your final assembly by first glueing the ends of your cubby divider and set inside rabbits. Glue around all edges of dovetail joints that will be wood-on-wood and set sides in.
Very important: Make sure your base is square by measuring opposite corners and comparing to other opposite corners. If one side is longer use a wood clamp to bring together. Measure again. Once both opposite corners equal the same length your base is square!
While your base joints are drying cut out your corner pieces and bottom. I like to cut my bottom larger than the base and trim off the excess later.
Glue the bottom edges of base and spread evenly.
Place bottom piece over glue and use 3/4" finish nails to tack in place. I like my nails spaced out no more than 5".
Glue corner pieces and use brad nailer or 1-1/4" finish nails to tack in place. Wipe excess glue with wet sponge.
Use flush trim bit in router to trim off bottom excess.
Use flush trim bit to trim off any parts of dovetail joints that need trimming.
Use 1/4" roundover bit to round bottom edges of base.
Fill in any holes or imperfections with wood filler. Let dry.
Sand base smooth, finishing off with 220 grit paper.
Dust off your base and stain or paint if you want and finish off with 2-3 coats of Polyurethane (follow directions).
I added rubber pads to the bottom of my base to keep it skid proof and protect table top from scratches.
Set your machine in base and mark where you'd like to place your mirror clips. Pre-drill holes and screw in. I spray painted my clips black and heated a strip of heat shrink tubing over end that would be touching machine (gotta protect our babies!).
DONE!
(Left to right: Singer 201-2 in base with cubby, Singer 15-91 no cubby)
Stand back and admire that big-black beauty in the base YOU just made!
Labels: DIY, Singer, tutorial, woodworking