So, in my previous post I mentioned how I've been obsessed with Ana White's website and Shanty2chic's blog. I found a project on each site that I just HAD to do because I literally wasn't getting very good sleep because I kept planning and building them in my dreams - more like nightmares because they were so stressful! Anyways...
Here is a bench I found on Shanty2Chic's blog that I needed - even if I didn't have a place for it yet.
And here is the one I did:
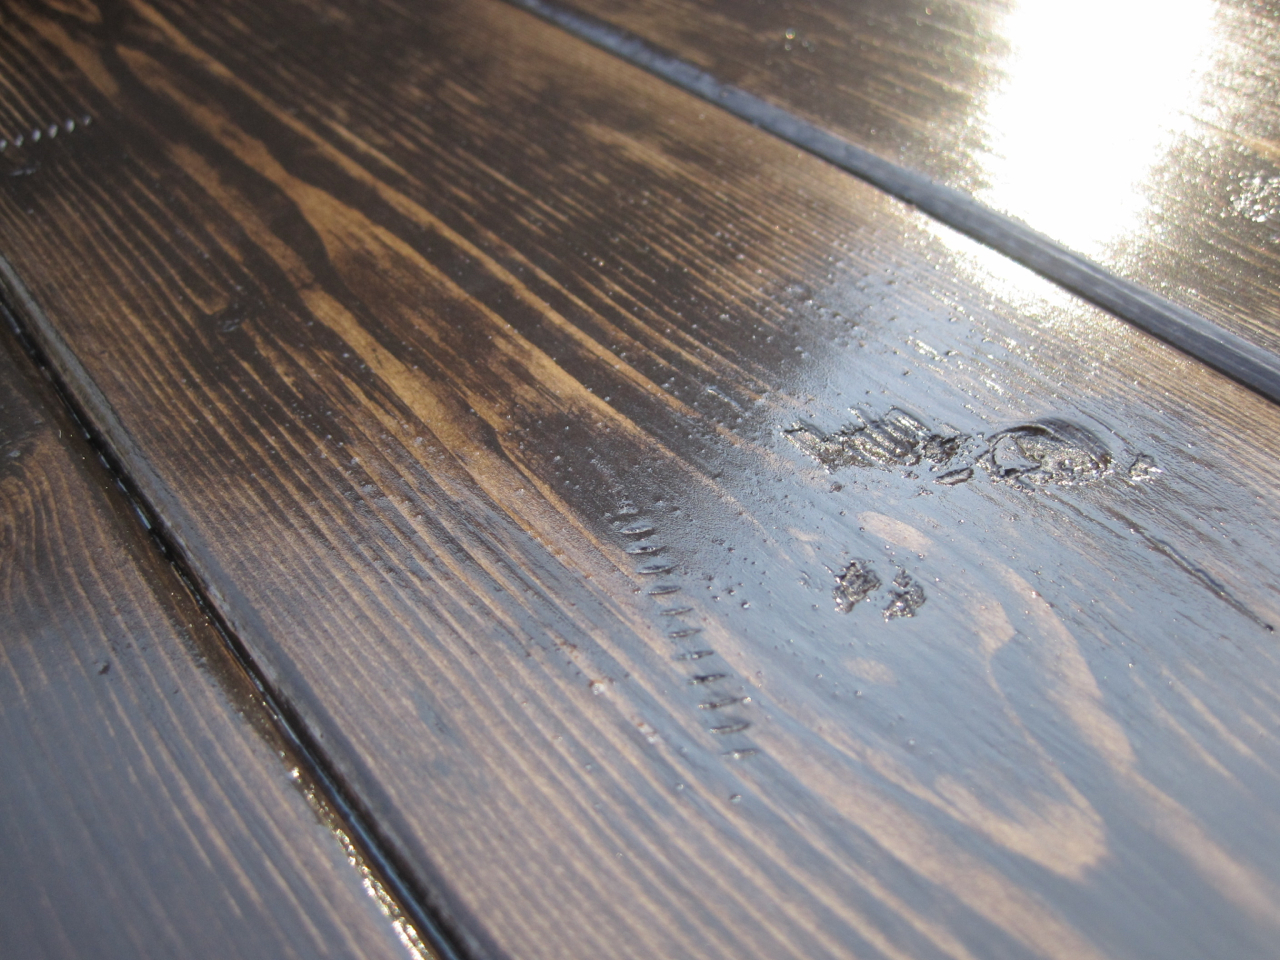
I distressed the top of my bench by hammering the side of a screw into the wood. I also stained the whole bench but only put polyurethane on the top boards.
I decided to put wood plugs into my pocket holes. I didn't sand them down flush with the boards because I liked the added character.
The best thing about this bench -- it should hold up for a few years with these little boys!
Here is a sawhorse-style desk I found on Ana White's website. Our particle board desk was bowing in the center from the weight of the computer (that's pathetic, right!?) so it was time to make a new one!
Here is the one I did:
Once the kids were in bed I measured, marked and cut all my boards in the basement. Then I used my Kreg Jig (I LOVE IT!) to drill pocket holes in some of the boards.
To save money, I used 1x6's instead of 1x12's for the bottom shelves and glued/screwed the boards together. I like it better this way anyways because you can see the seam on the topside.
Then I sanded, sanded, sanded until I was sick of it. It makes a huge difference to have rounded corners!
To save money, instead of a large board for the top I bought a long 1x12 and glued/screwed the boards together. I actually rounded the edges of the sides of the boards that were going to be together because I wanted the seam to stand out. My dining table worked nicely as a work table to clamp my boards together. When we get our own house I'll make my own work table (Ana White has a project plan for that too!)
Here are my boards all glue, screwed and sanded ready for assembly! The best part!
The end pieces are all put together and ready to be stained!
I love how the wood looks with the stain -- it brings out all the character of the wood and highlights the knots and blemished which I like. I also put a few coats of polyurethane on the top to protect the wood.
Instead of screwing the sides to the top board from the underside I drilled holes through my tops and sides and used large carriage bolts to attach them together. It's also easier to disassemble if I need in the future.
The shelves are a great feature I think!
I'm sure my neighbors will be glad that I've put all my tools and paintbrushes away for a while. I'm sure the sound of power tools and the smell of stain wasn't their favorite -- but it probably would have been entertaining for anyone watching. Building stuff and watching/entertaining kids outside just doesn't mix very well!
Labels: DIY, furniture, woodworking